Using the App — Teacher
Teachers decide. Amal measures each child sub-skill by sub-skill, proposes what support to try next, and tracks whether it is working — but every recommendation is yours to accept, adjust, or reject. This guide walks the teacher screens in the order you use them: pick a class, read the class picture, open a student, activate a support plan, and monitor progress.
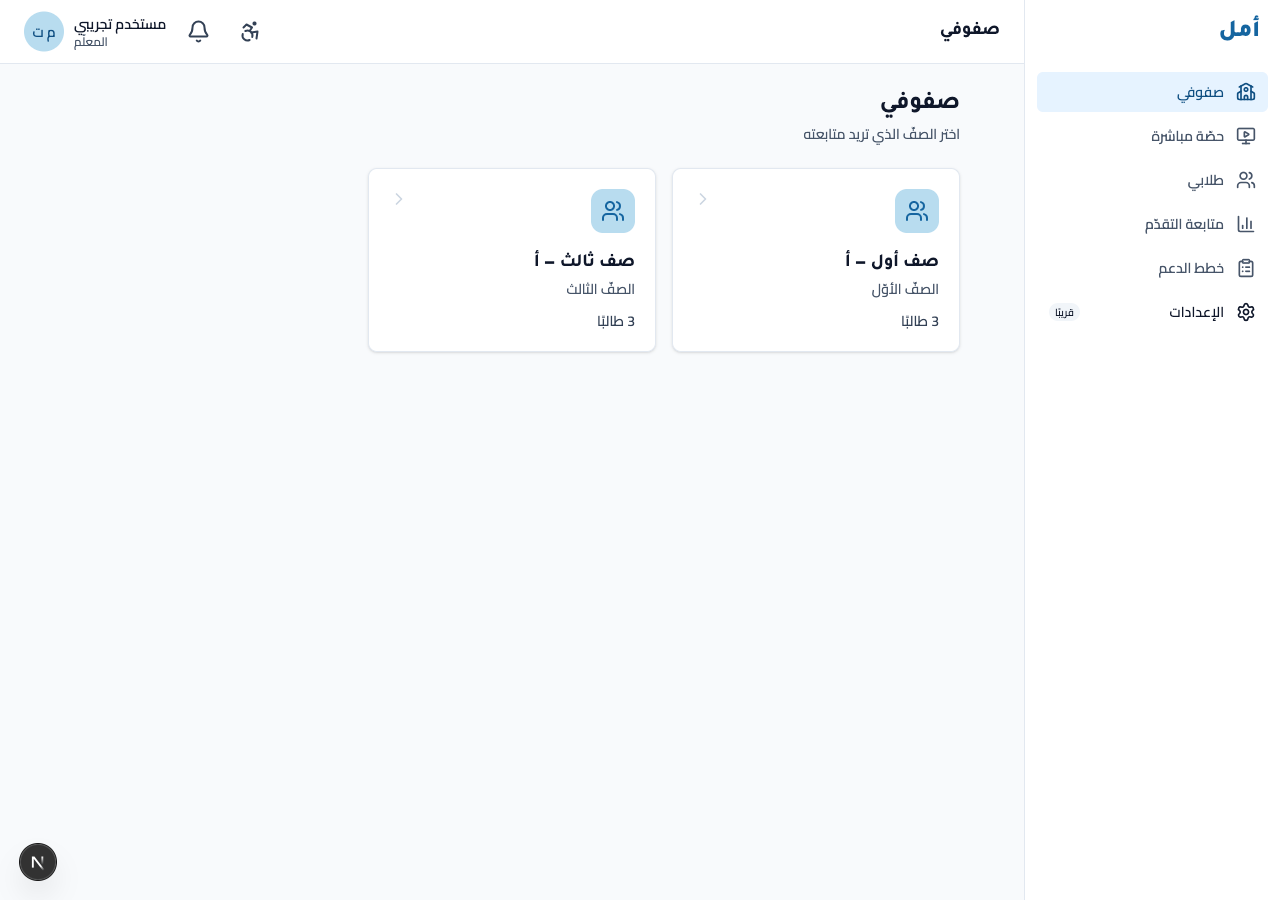
Pick your class
You may teach more than one class, so Amal opens on a class picker. Each card shows the class name and its student count.
How to:
- Review your class cards — each shows the class and how many students are in it.
- Click a class card to open its dashboard.
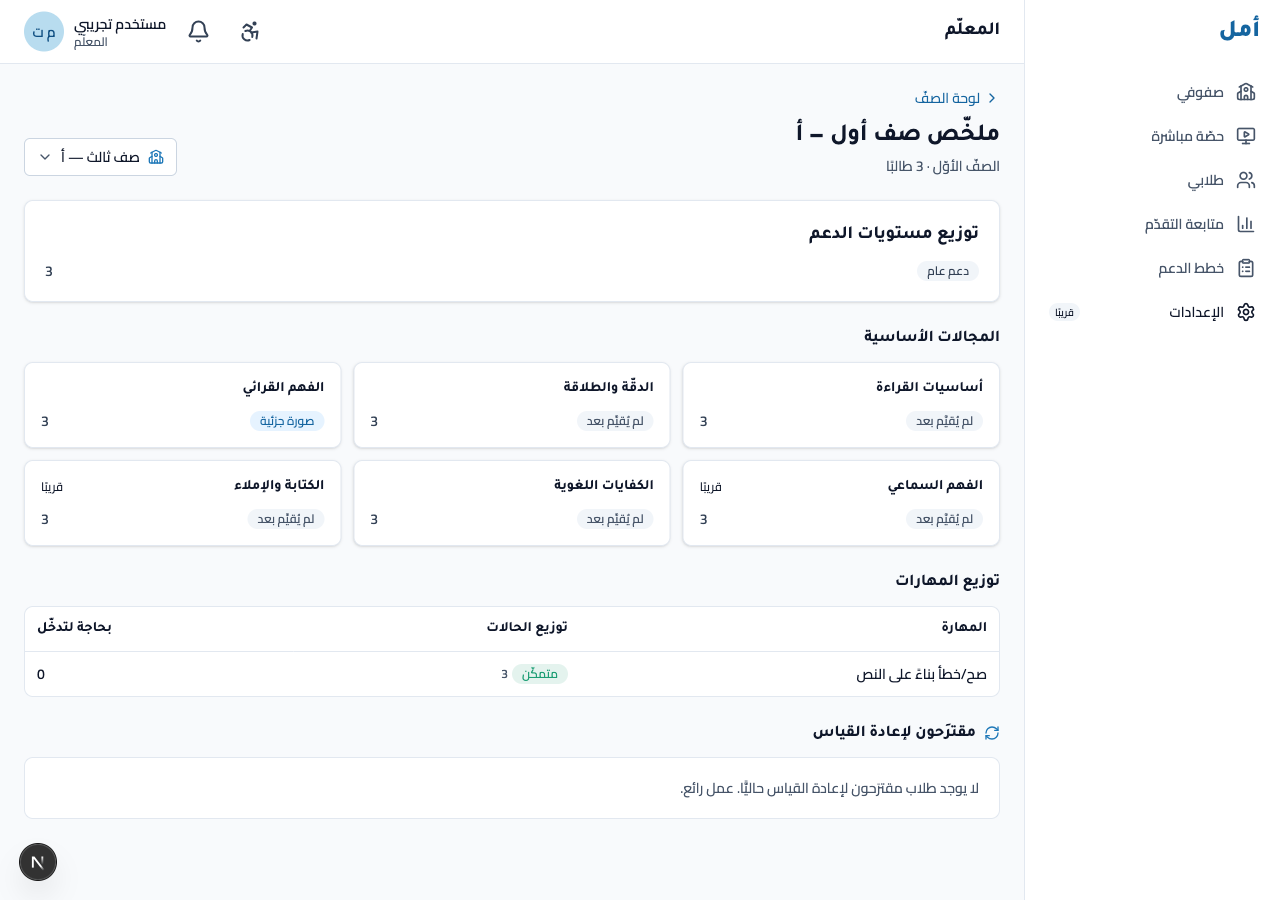
Read the class dashboard
The class dashboard is your at-a-glance picture: macro-domain status across the class, with everything rolled up at the status level (Meets / Approaching / Below / Not assessed) — never a single overall percentage.
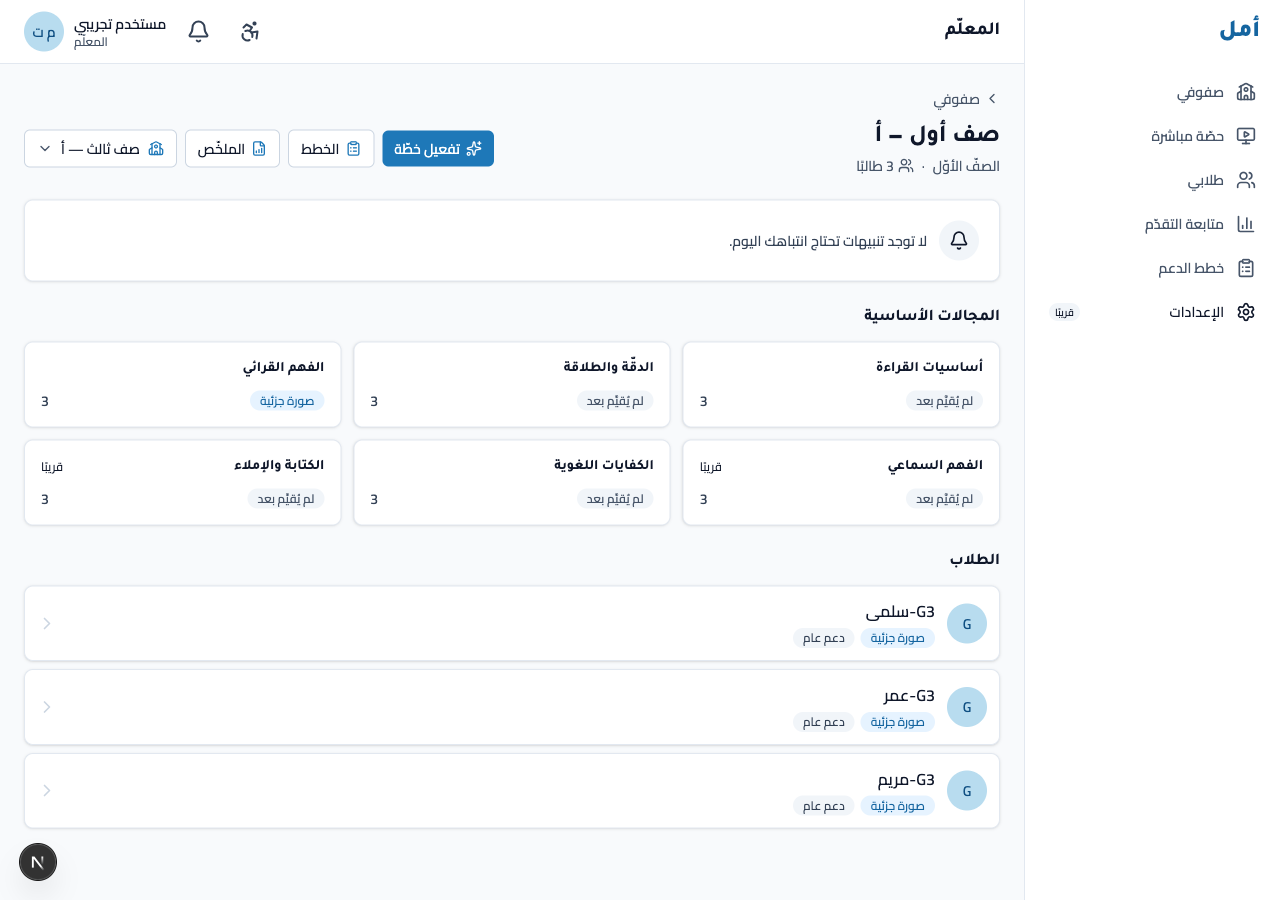
How to:
- Scan the macro-domain grid to see where the class stands per domain.
- Use the breadcrumb at the top to move between the dashboard, summary, plans, and activation.
- Open the class summary for the scaffold-tier and skill-distribution view.
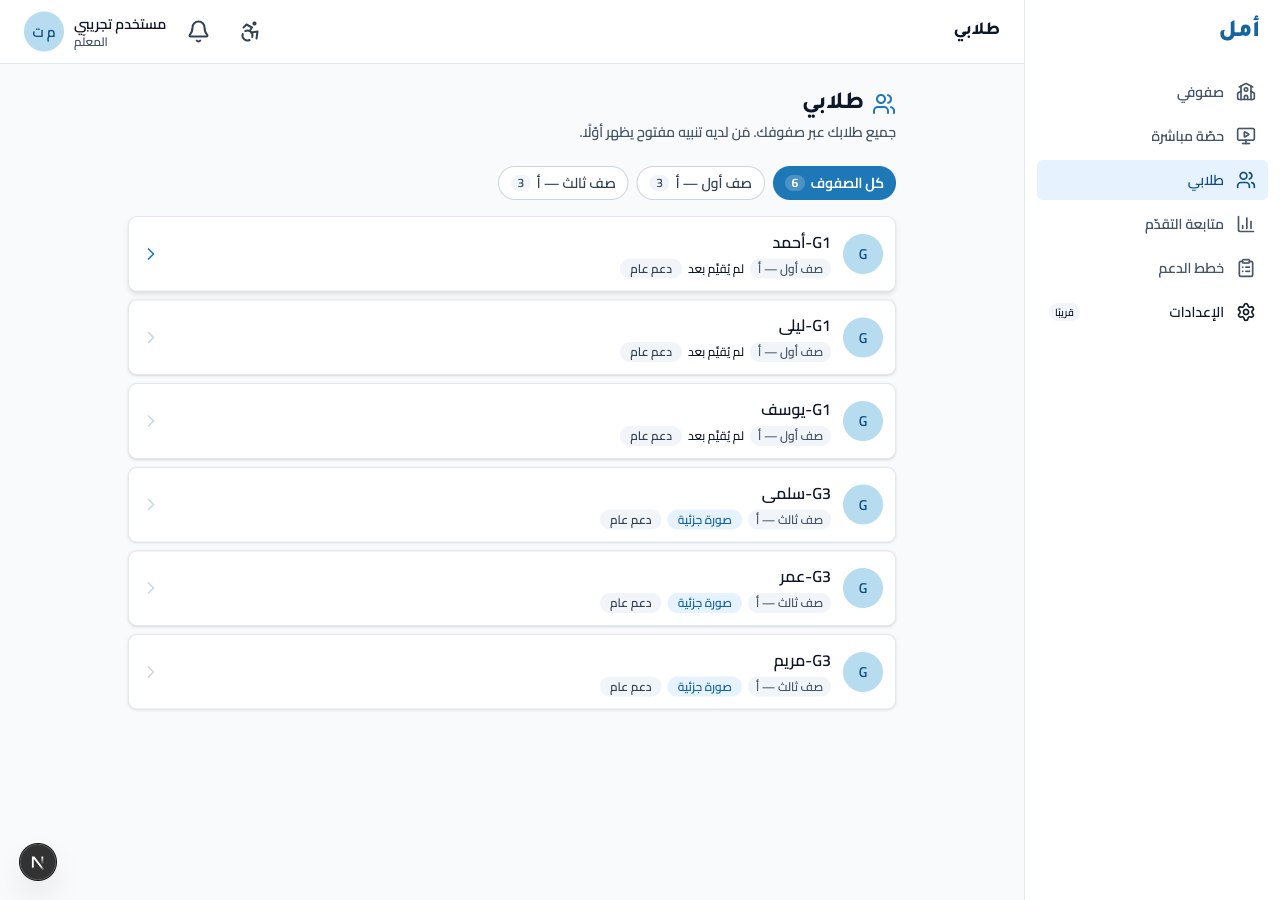
See all your students
The students list shows everyone you teach. A class filter narrows the list to a single class, and each row links to that student’s profile.
How to:
- Use the class filter to narrow the list to one class.
- Click a student row to open their full profile.
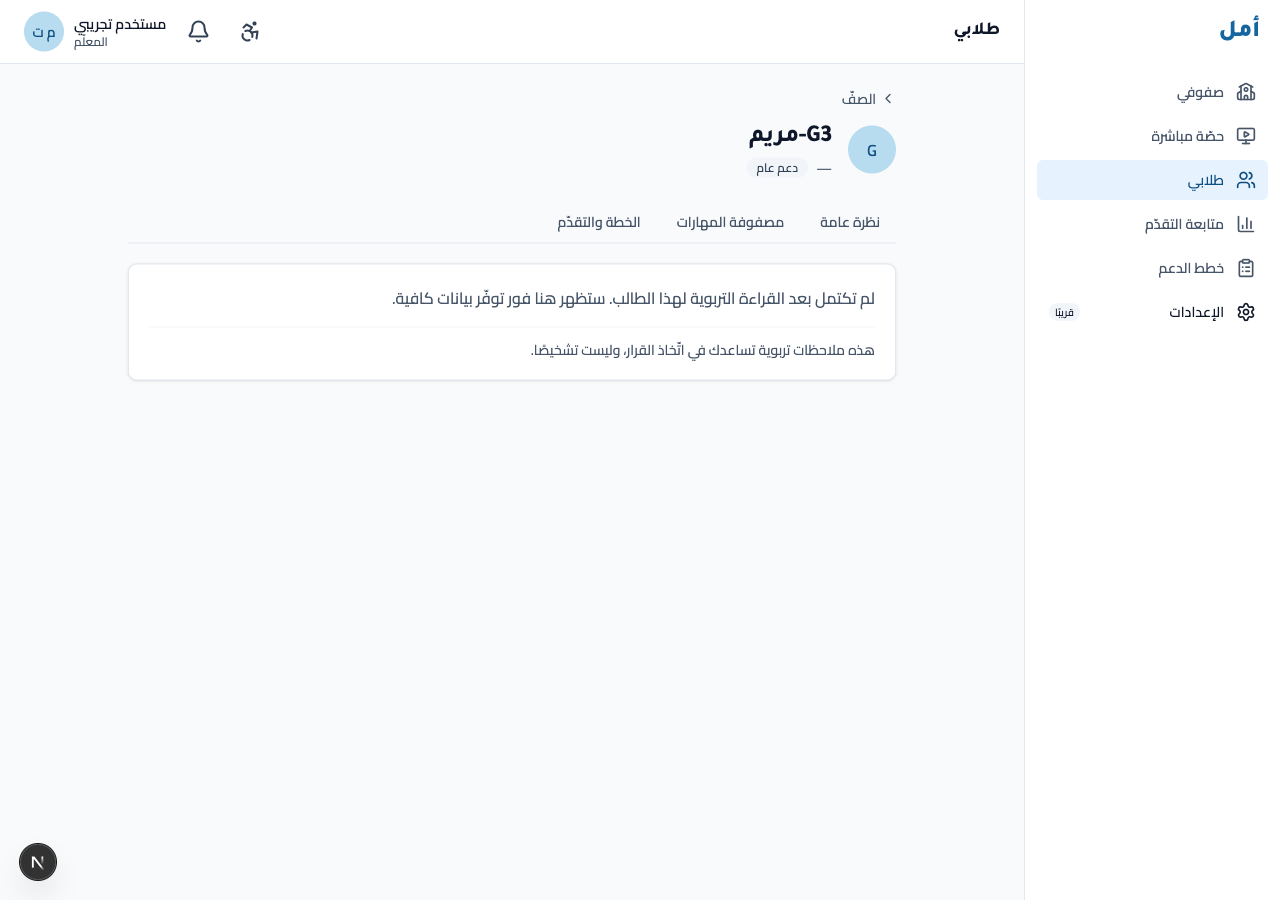
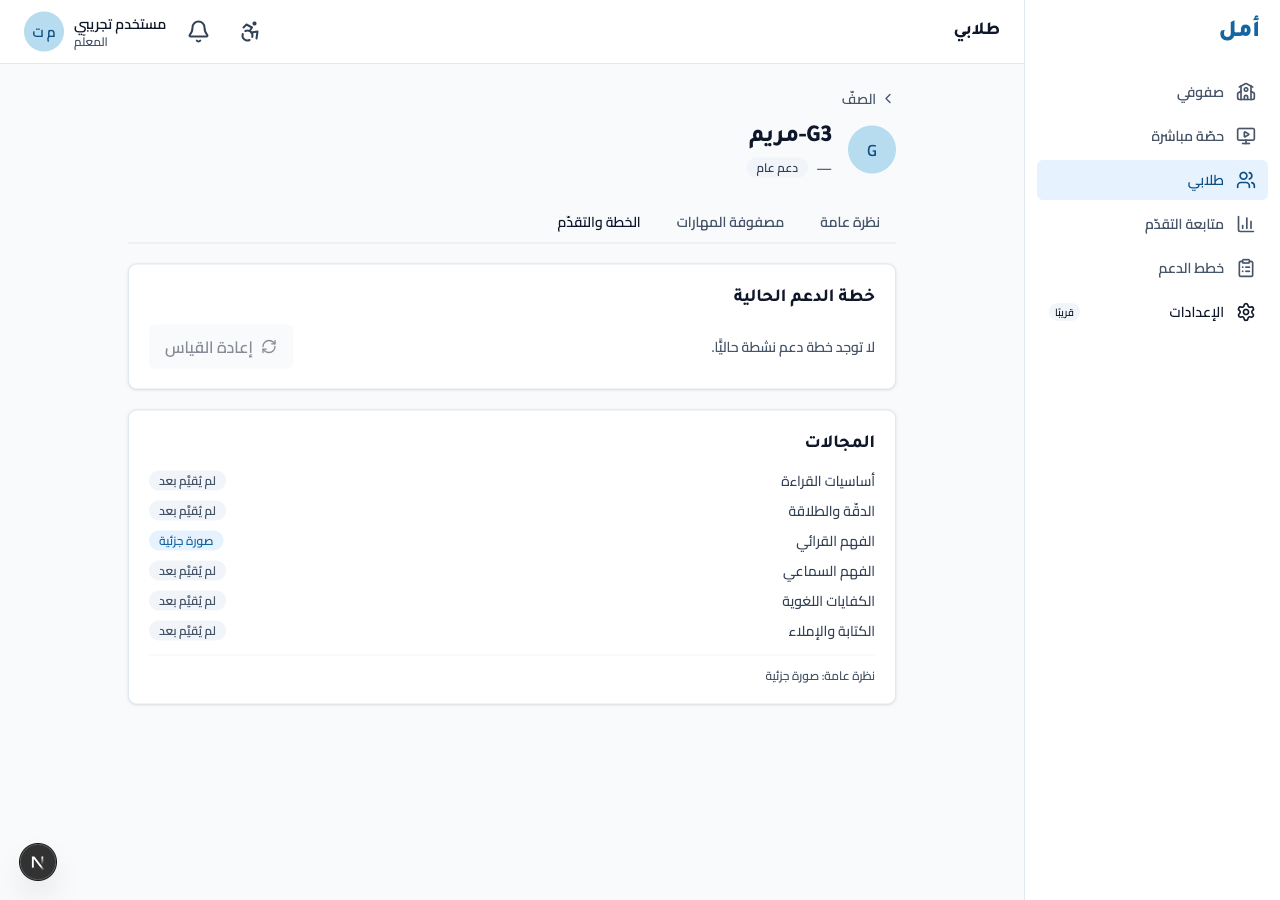
Open a student profile
A student profile gathers everything about one child: an overview, their support plan and its progress, and a re-diagnostic option. The profile always carries the reminder that a profile is a teaching aid, not a clinical diagnosis.
How to:
- Read the overview tab for the child’s current picture.
- Open the plan & progress tab to see the active support plan and how it is tracking.
- Use re-diagnostic when the child is due for re-measurement (it stays disabled until the child is eligible).
Activate a support plan
This is the heart of the teacher’s job. The activation wizard is a guided, multi-step flow that takes you from a recommendation to a committed plan. It is built so the system proposes and you decide at every step.
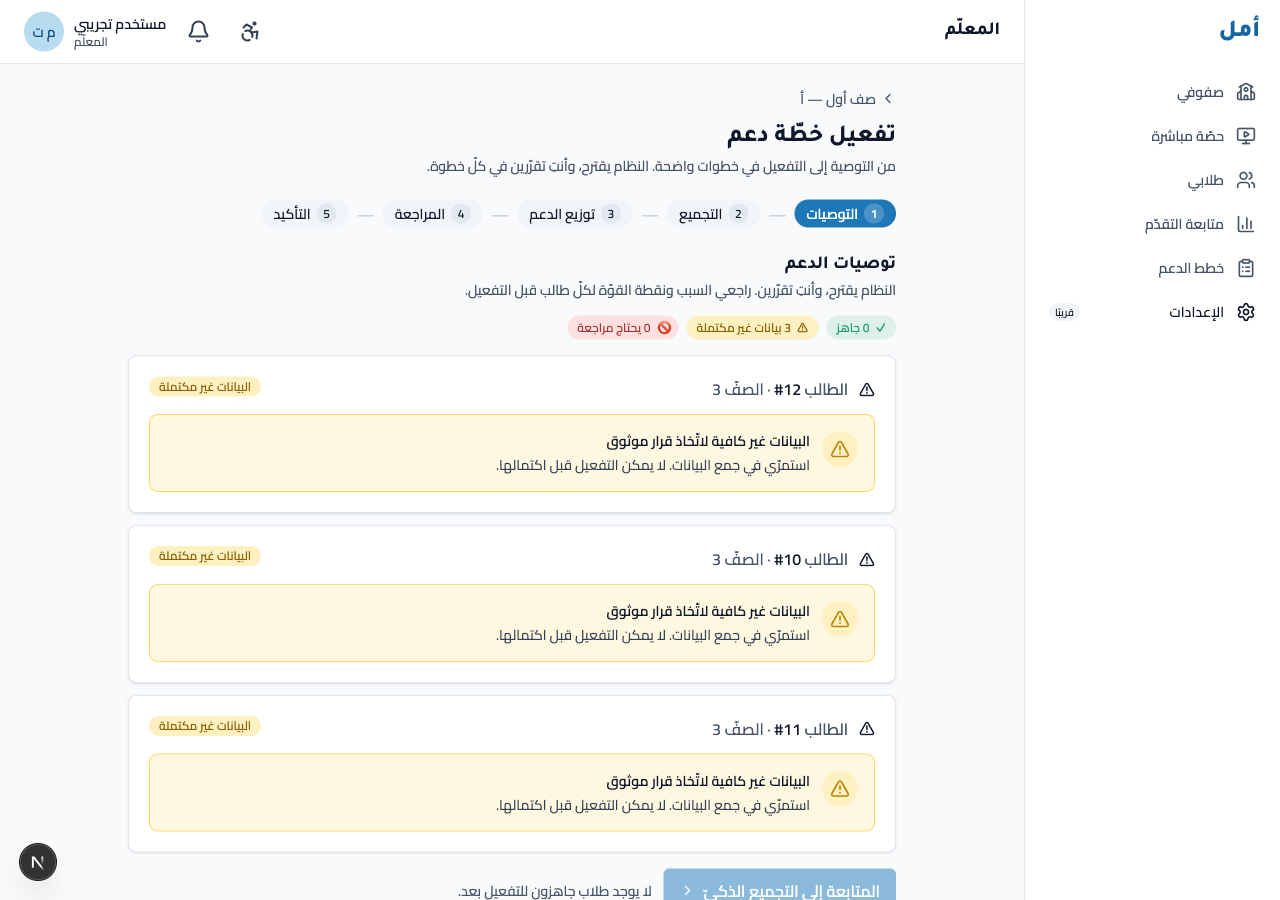
How to:
- Recommendations — review the bundle recommended for each student.
- Grouping — Amal previews which students can be supported together (same bundle, anchor skill, scaffold tier, and delivery mode).
- Scaffold distribution — check the Level 1 / Level 2 / Level 3 spread across the group.
- Review — confirm each student; apply a per-student adjustment using an override code if you need to (the reason is always picked from a list — there are no free-text fields).
- Confirm — commit the plan.
The Continue button stays disabled for any student who does not yet have enough evidence to decide on. This is a deliberate safety guardrail (the “needs more data” case) and cannot be bypassed — gather more evidence first, then return.
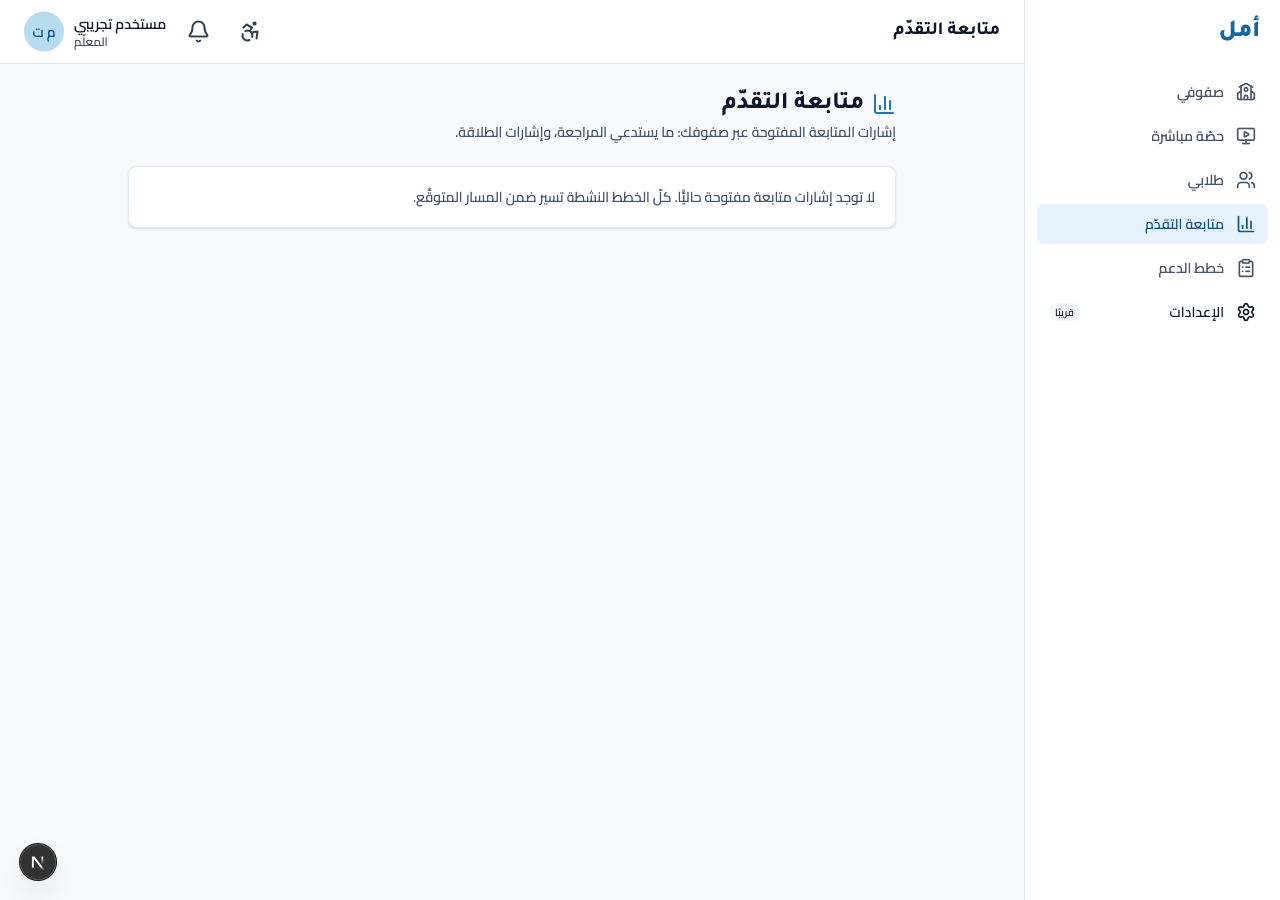
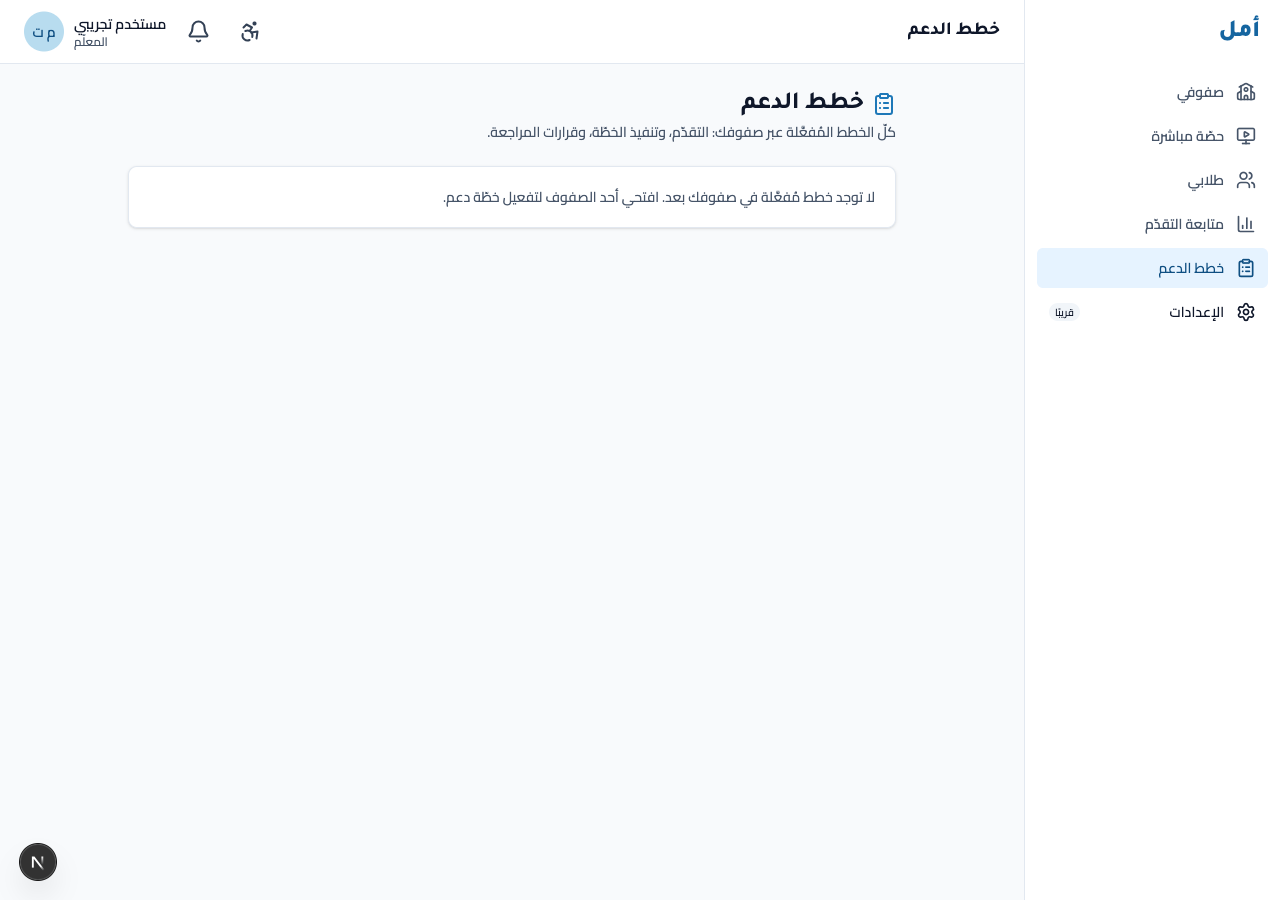
Monitor progress and plans
Once plans are running, the progress and plans screens are where you keep an eye on them. When there are no open signals, you see a calm empty state rather than noise.
How to:
- Open progress to see open monitoring signals and any alerts that need your attention.
- Open plans to see active support plans across your classes.
- Resolve an alert by reviewing it — the plan status is never auto-changed on your behalf.
Run a synchronous lesson
From the sync screen you build and launch a live, projector-led class session.
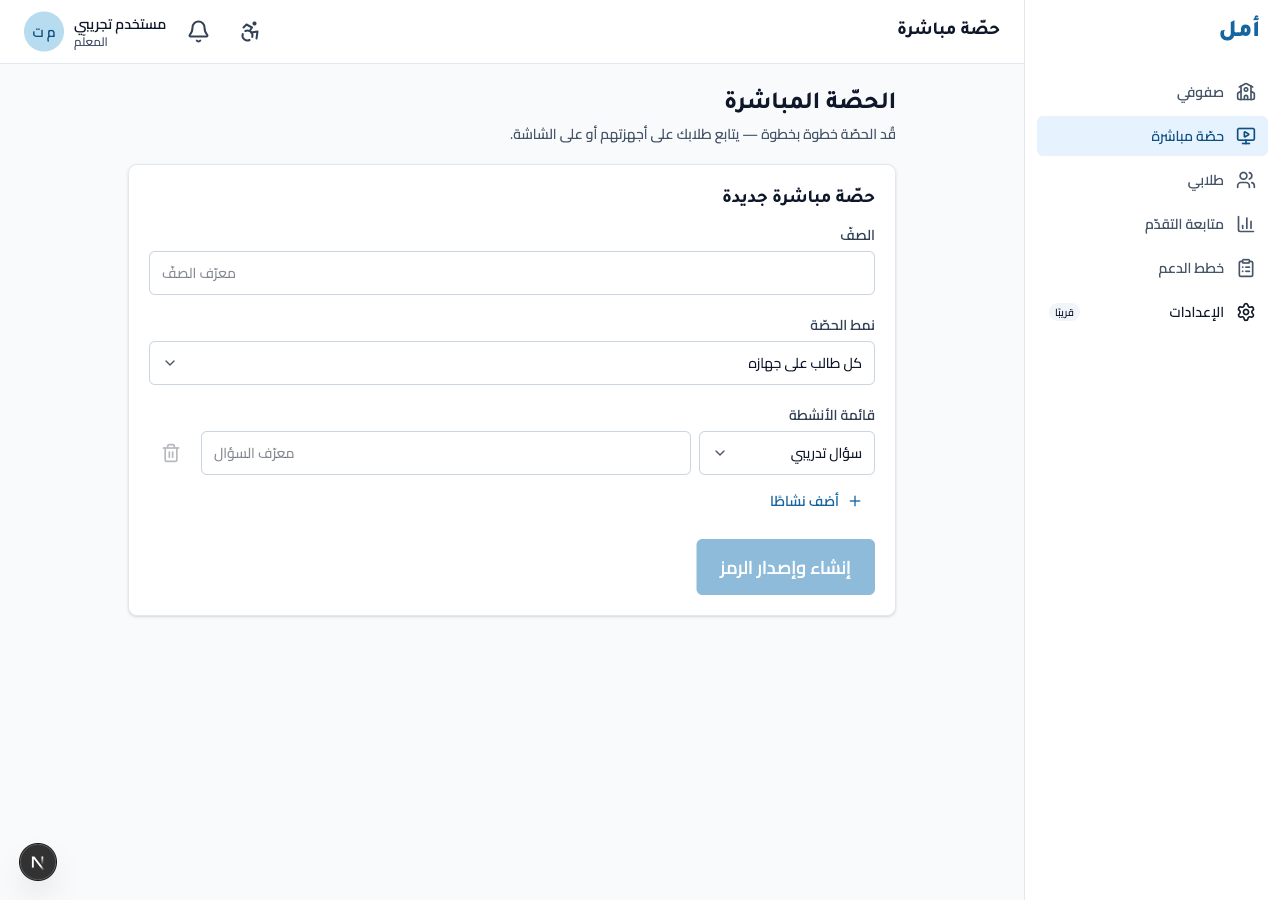
How to:
- Choose the class and the session mode, then add one or more activities.
- Click create and issue the code to generate a numeric join code for the class.
- Click open the projector screen to put the shared screen up, then start the session.
See the Projector guide for the shared-screen side.
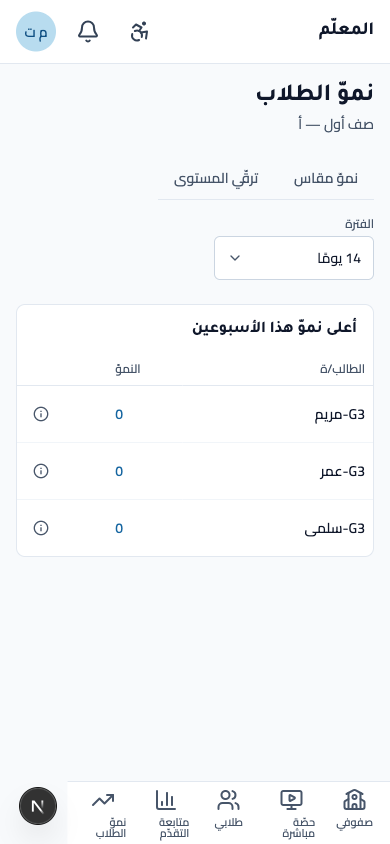
Leaderboards (growth, not ranking)
Teacher leaderboards celebrate measured growth — never a ranking of children. You can view them across your classes or for a single class.
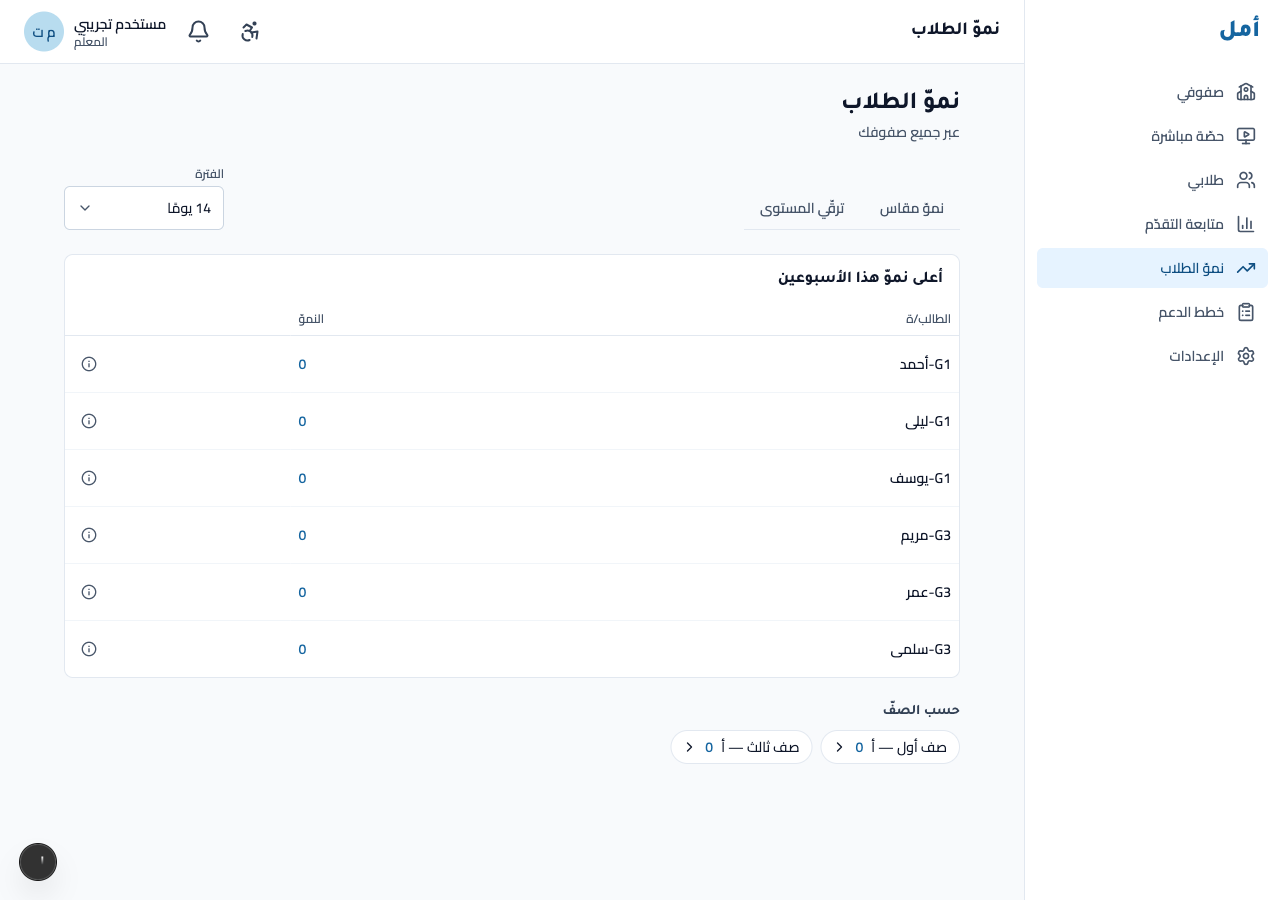
How to:
- Switch between the measured growth and level progress views.
- Choose a period (7 / 14 / 30 days).
- Click a class chip to focus on a single class.
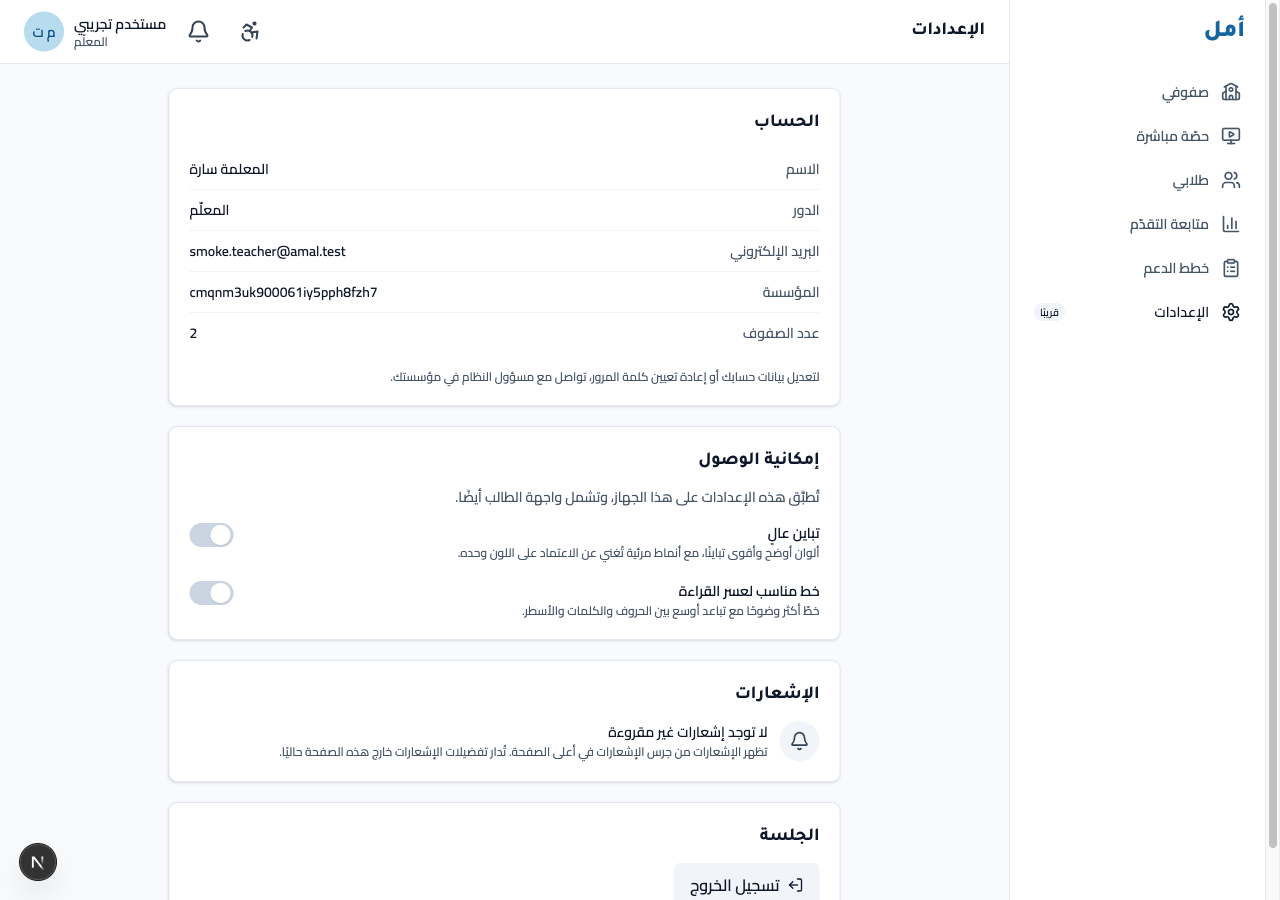
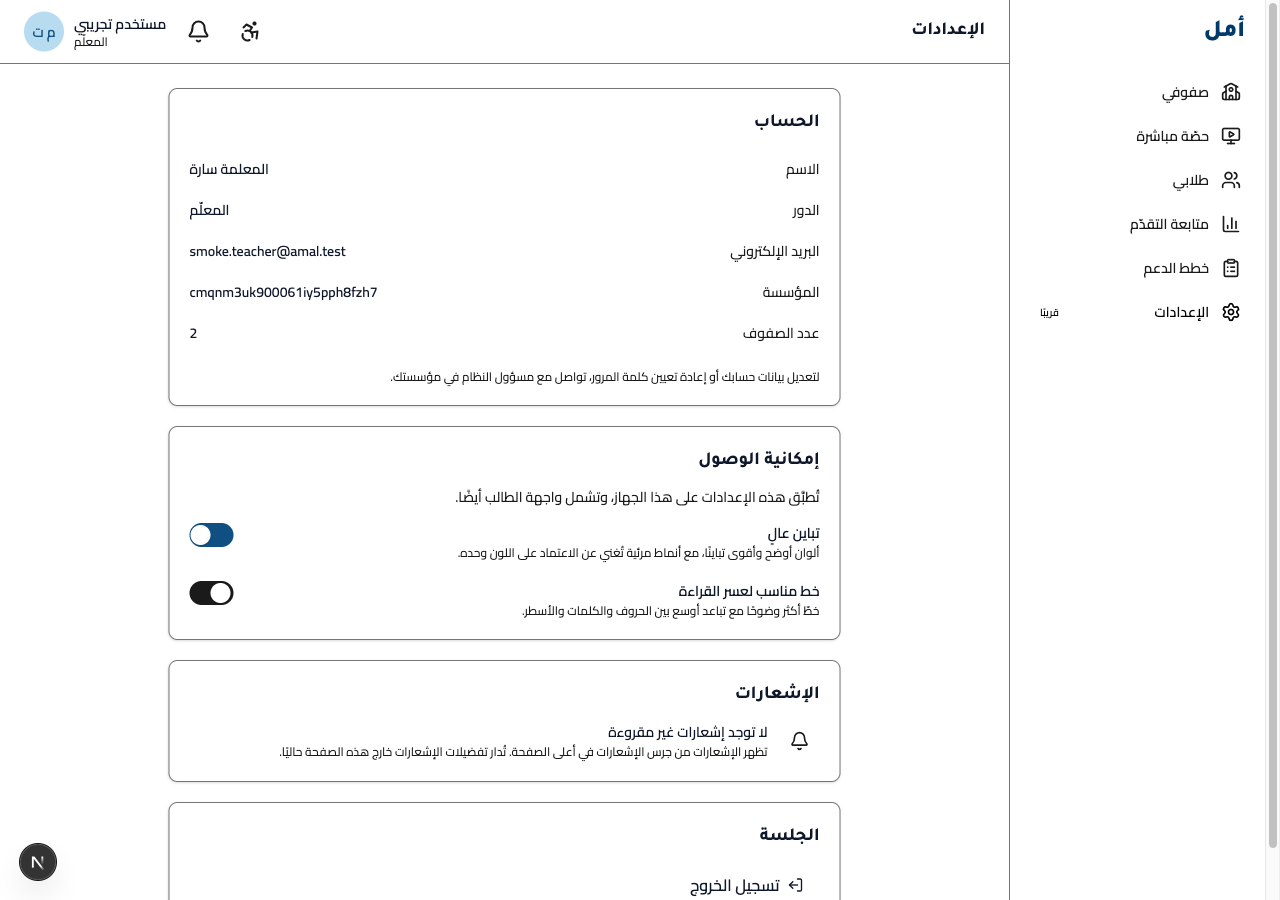
Settings
The settings screen holds your account, accessibility options, and sign-out. A high-contrast toggle is available for readability.
On phone and tablet
- On a wide screen the navigation rail sits on the right (right-to-left).
- On a tablet the rail collapses into a menu you open from the top bar.
- On a phone you navigate from a fixed bottom tab bar — your most-used class and student screens are one tap away.
The class dashboard, student profile, activation wizard, and leaderboards all reflow cleanly from wide screen down to phone without horizontal scrolling.